That being said, I found a more digestible twist on the popular treat on this cooking blog I just started following a little while ago. I put my own little spin on it so I guess this now a (Sort Of) Recipe? Whatever. Here's what you'll need:
- 1 1/2 cups of all purpose flour
- 1 cup of graham cracker crumbs (it doesn't matter what kind, I did the chocolate ones)
- 1 tbs of baking powder
- 1 Tbs of cinnamon
- 1 stick of salted butter (room temp)
- 1/4 cup of brown sugar
- 1/2 cup of white sugar
- 1 large egg
- 1 tbs of vanilla extract
- 1 10 oz bag of mini marshmallows (the regular-sized bag basically)
- 4 full size baking chocolate bars; I used Lindt and Ghiradelli and I was going to use the Hershey's cookies n' creme, but you know I ate them up before the day I decided to bake this; I still recommend it though. Oh and use any sweetness you damn well please.
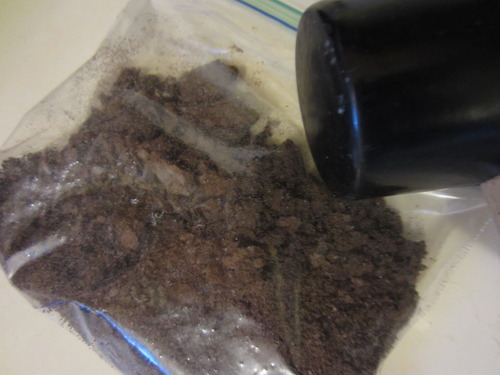
Step 1: Crush up your graham crackers, one packet works, just stick them in a bag like, four at a time or whatever your bag allows.
Step 2: Throw in the crumbs along with the other dry ingredients: flour, cinnamon, and baking powder. Don't worry if your crumbs are not as crumby either.
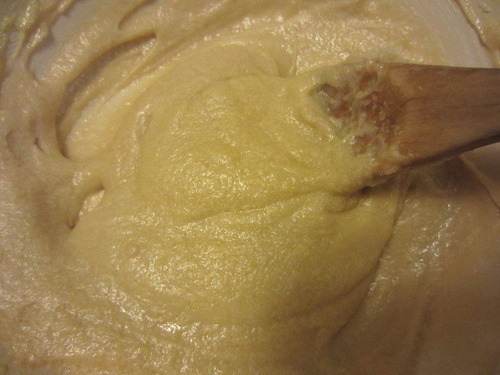
Step 3: Mix your wet ingredients now; the butter stick, the two sugars, the vanilla and the egg. Note: save the butter wrapper to use to grease your pan.
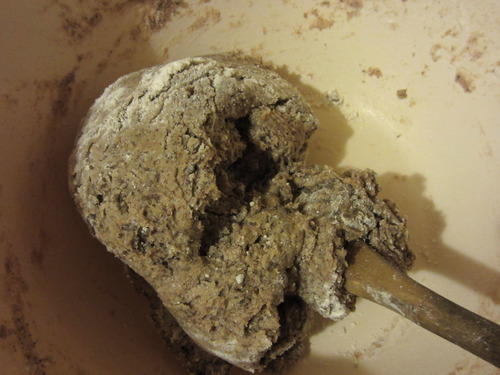
Step 4: Combine the ingredients the same way you would any other dough, adding the dry to the wet little by little until it's supple.
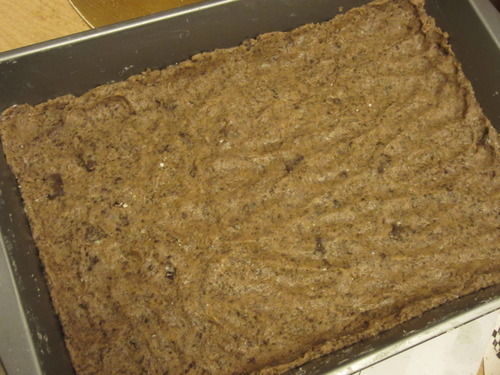
Step 5: Press the dough into the bottom of the butter-greased pan. My pan was actually bigger than the one used in the original recipe so I could only go up the sides just a bit; I needed at least a third of the dough for the top layer.
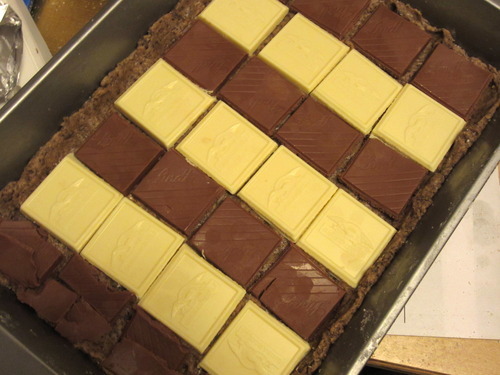
Step 6: Now grab those chocolate bars, like I said before it really doesn't matter what you use as long as you have enough to line the pan and for the top layer; I'm not even sure if the Lindt one is for baking, but that white dude looks like a baker so...
Step 6 (cont'd): Line your dough. The white chocolate was actually slightly bigger than the milk chocolate so the spacing was off, but who cares, it's gonna melt anyway.
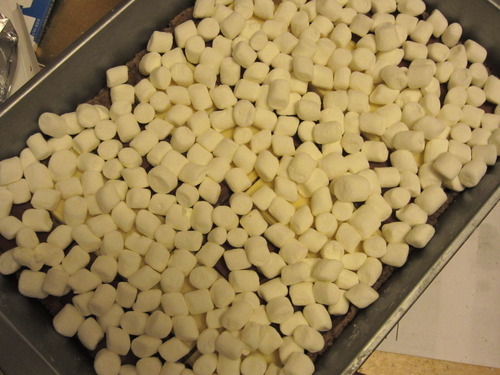
Step 7: Now add a layer of marshmallows. I actually had a little left over in the bag; you just have to make sure the layer covers all the chocolate nicely.
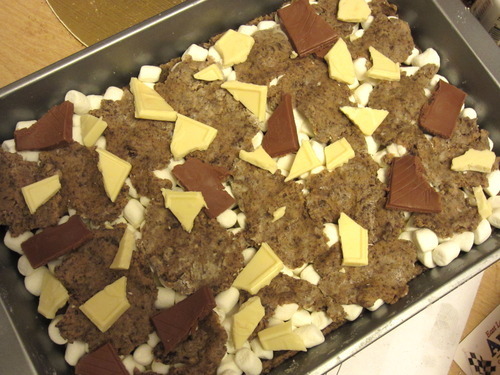
Step 8: Flatten out the rest of the dough over the marshmallows; depending on the size of your pan, you might be able to cover it, or you can do it in patches like I did. The original recipe says you should freeze the extra pieces of chocolate and put them on after the first time baking, and then put the thing back in the oven, but who the fuck has time for that? Just put the pieces on the first time and pop that sucker in the oven for 35-40 minutes at 350 degrees (325-ish for a non stick pan).
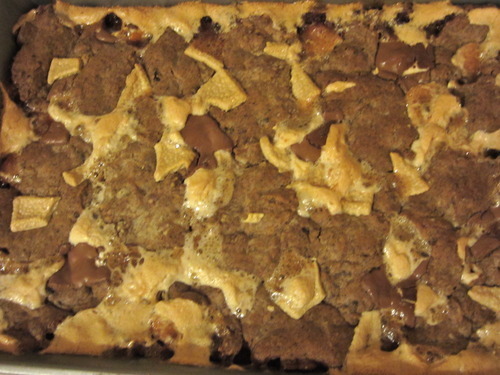
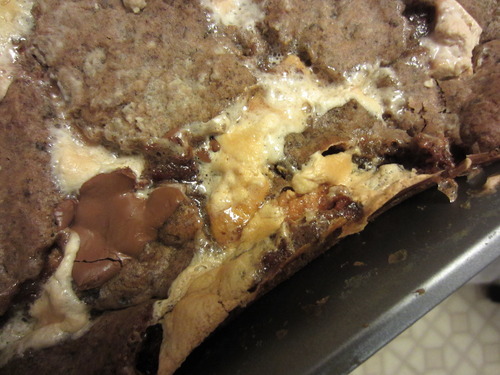
Step 9: It should look like this when it's done (maybe less blurry, my hands were shaking with ravenous excitement).
Step 10: Using a knife, separate the sides from the pan all the way around so it makes it easier to cut later. You MUST let it thoroughly cool so stick it in the fridge for a few hours or so before you cut into it otherwise it starts to fall apart a bit.
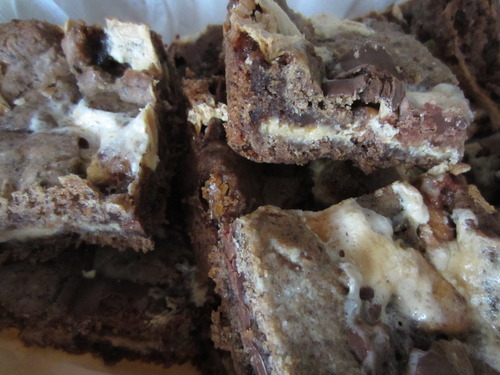
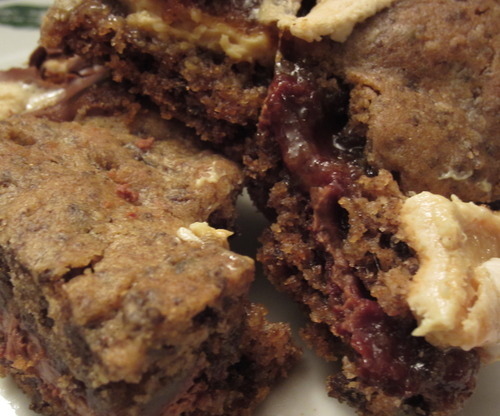
Step 11: Cut them in small pieces so you don't feel like such a fatty when you eat three pieces in one day. Store them in an air tight container in the fridge; you can warm them up a little to serve/eat.
Having the desire to bake this is literally the only thing my degree in economics has ever done for me.
Day 43: Submitting again tomorrow.


OMG this looks delicious !!
ReplyDeleteIt's way to early for sweets but I'm hungry already :)
Might be a good idea for me to try this weekend !
Thank you so much for sharing this yummy recipe !
I have 2 new posts and would love to know your opinion :)
Have a great day :D
XXX
La Mode Event
La Kaiser Jewelry Favorites