Showing posts with label not really recipes. Show all posts

Friday, July 31, 2015

Not Really Recipe | Fruit Fry

Recently I was watching a cooking video by one of my favorite beauty/lifestyle vloggers Beautycrush and at some point she fried some fruit and it never occurred to me that one could even do that...so now I've been doing it like, all the time.

All you need is butter, fruit and whatever type of carb you're scarfing down in the morning--pancakes, french toast, waffles--whatever you want. The fruit I selected is plums because they're easy to slice and they have great flavor. Peaches, pears or even apples might work well too.

I think the plums with the red insides work best, they are way sweeter than the ones with the white insides (the darker the berry, right?). Slice them up into bite-sized chunks like so...
....I used butter for my frying oil, but when I did it the first time I used the more tart plums (seen here) so I actually added some syrup to the pan to sweeten them up (Sammi did this too).
It literally only takes about two minutes to saute them up until they brown a bit then you just dump them on your morning carb.
...add a couple dashes of cinnamon or even some Greek yogurt to amp up the flavor. 
SO GOOOOOOOOOD. 

Friday, November 7, 2014

Not Really Recipe | Not Takeout

Sometimes I just don't even have the energy or the patience to get the food out of the fridge and come up with something that qualifies as reasonable sustenance...hence, all the takeout (even yesterday I headed out to the mall and ate gross mall food because Cousin Pam drained me of any desire to eat something healthy, weird how that happens right?).

However, I did manage to put together a meal a couple days in a row(!!!), which I think qualifies as a sort of recipe...sort of...not really though (obviously).

No steps this time, just pixs, I figured it's something everyone makes when they're trying to act like they can actually cook... 
image
image
image
image
There was even dessert, that Pillsbury doughboy is my best friend...
image
I thought I was going to die doing this...so much suspense.
image
image

...I think this counts as high-level productivity...now back to sleep.


Monday, July 7, 2014

(Not Really) Recipe | Grilled Non-American Cheese

Okay so obviously this post is really going to live up to the series name because who doesn't know how to make grilled cheese? If you don't...how unfortunate. 

To be relieved of such ignorance, follow the words and pictures for my version of an American classic:

image

Here's what you'll need:
  1. Cheese (pick one or two that are NOT American. American cheese is stupid)
  2. Some spice; I love oregano and I think basil also has a sweetness that complements cheese
  3. Bread; whatever you prefer
  4. Butta baby!
  5. Also some tomato something...either soup or sauce or whatever tomatoness you want.
  6. Tools: frying pan and a spatula

image
Step One: Melt two Tbs. of butter in a pan.
image
Step Two: If you keep your bread in the freezer like I do, heat it up in the toaster for like 15 seconds then slap it on the pan...

image
Step Three: let the bread soak up that buttaaa mmmmmmmmmmmmmm.........fattening. 
Let it brown a bit as you flip it and sprinkle a little spice as it soaks.

image
Step Four: Put the cheese down; mine is munster, one of my favorite non-American cheeses. Spice it again because you wanna be fancy like me.

image
Step Five: Make a sandwich and keep flipping until that cheese melts.

image
BOOM. SO GOOD. EAT IT.

...but wait...

image
Step Four and a half: Add more cheese because obviously....
image


Non-American grilled cheese is dangerously addictive. 
Please be careful.


Saturday, July 13, 2013

(Not Really) Recipe | White Chocolate Breakfast Cookies

First breakfast cake now, breakfast cookies...except having chocolate that early is probably not ideal for one's waistline... This is actually the result of a second attempt at a super simple recipe I found on a pack of Craisens®, which only proves how much I suck at life in general. Gather all the things and try to get it right the first time:
  1. 2/3 cup of Crisco® shortening + the 2 tbs. of water (subbing out the butter)
  2. 2/3 cup of brown sugar
  3. 2 large eggs
  4. 1 1/2 cups of flour
  5. 1 Tbs of baking powder
  6. 1/2 tbs of salt
  7. 2/3 cup of Craisins®
  8. 2/3 cup of white chocolate chunks or chips
 You need about 45 minutes to an hour from start to finish.

image
NOTE!!! This picture is a little misleading, you should mix the starch and sugar first and make sure it's all blended before you add the eggs. Kinda makes no diff in the end, but whatevs take note anyway.
 Step 1: Mix the wet stuff (eggs, shortening, water, and sugar)

image
Step 2: Mix in the dry stuff (oats, flour, powder, salt)

image
image
Step 3: Drop in the magic. I used one and a half baking bars.

image
Step 4: These were about 2.5 inches in diameter and I made sure to have a water bowl to dip my fingers in before I pushed the sticky batter off the ladle, kinda like I did here. Oven is at 350 degrees, bake for 10-15 minutes or until brown.

image
Step 5: They should look like this...I kinda wish I put more chocolate in though, but I guess that means they're healthier now (BOOOOO).

image

Breakfast of fatties


Day 74: New strategy.

Friday, June 28, 2013

(Not Really) Recipe | Protein Breakfast Cake

I feel like that title sounds gross and weird--whatever, CAKE IS CAKE--and now you can have it for breakfast. Yay. Here are the ingredients (adapted from this blog post):
  1.   3 cups of old fashioned oats
  2.  1/4 cup of brown sugar
  3.  1 Tbs of baking powder
  4.  1 Tbs of cinnamon
  5.  1/2 cup of protein shake mix (any kind/flavor that you feel goes with oatmeal)
  6.  1 1/2 cups of strawberries (sliced; just get a whole box or whatever)
  7.  2 cups of any kind of milk
  8.  1 large egg
  9.  1 Tbs of vanilla extract
Note: you're basically making a giant thing of oatmeal with some fruit mixed in so the amounts don't have to be all extra precise...

Tools: a large mixing bowl and a baking pan, etc; this recipe takes about an hour and a half including cooking time.

image
image
Step 1: wash and slice the fruit; you can actually do this with any baking fruit, I'm thinking of using apples next.

image
I picked a strawberry flavored protein shake because I thought it would go with....strawberries.
Step 2: Mix all the dry ingredients (the first 2 cups of oats, sugar, baking powder, cinnamon and the protein shake powder)

image
Step 3: Dump in your wet ingredients (egg, milk, vanilla extract, and the strawberries); mix it up so it's well-blended, or as blended as oatmeal can be...

image
Step 4: Add more oats from that third cup to thicken the mix until you're satisfied with the consistency; you don't want it too watery...

image
Step 5: Bake at 350 degrees for a nonstick pan (375 for the other kind of pan) for 40 minutes or until kinda brown and cooked looking...it will have a spongy texture when it's done.

It's best served warm with honey or syrup drizzled on top, a plop of vanilla Greek yogurt and granola bits for some crunch (keep refrigerated).
image


Now you can start your day like a fancy pants bodybuilder.


Day 59: spotted more local opportunities...

Tuesday, June 18, 2013

(Not Really) Recipe | Breakfast Lunch Dinner Wraps

Just to be clear, I did not mean breakfast, lunch and dinner wraps, these are just dinner wraps using ingredients found in breakfast and lunch meals...I'm not trying to clever, I'm just broke (still). Here's what you'll need:
  1. Some lunch meat (like, a slice of whatever)
  2. An avocado
  3. Some shredded cheese
  4. Two eggs
  5. Two 8" wraps
  6. Spices
  7. About a thighs' worth of chicken
Alright, heat up that skillet, this should only take about 15 minutes.

image
Step 1: cook the wraps and set aside. Don't make them too crisp.
image
Step 2: Get your meat ready, I found some in a sub sandwich I didn't feel like eating because I didn't order it and it had all these annoying random ingredients and the bread got all soggy because I left it and--first world problems. Tear up your chicken too.
image
image
Step 3: Scramble and spice.

image
image
Step 4: Combine.  I added more spices after everything and sprinkled on the cheese last so it didn't get too messy.

image
image
Step 5: Put that avo down like so and wrap all that other stuff in...

image


BLD Wraps. Go'head and say I coined that.


Day 49: Set back because life...catching up tomorrow.

Wednesday, June 12, 2013

(Not Really) Recipe | White Chocolate S'mores Bars

Okay, so I actually think s'mores are kinda gross. Like, there's this thing in economics called the law of diminishing marginal utility and eating a traditional s'more is kinda like that--the satisfaction diminishes rather rapidly with every bite because of the gooey, overly sweet taste. Not that I have a problem with sweet things, it's just that when I'm eating a s'mores I can feel the diabetes just creeping up...

That being said, I found a more digestible twist on the popular treat on this cooking blog I just started following a little while ago. I put my own little spin on it so I guess this now a (Sort Of) Recipe? Whatever. Here's what you'll need:
  1. 1 1/2 cups of all purpose flour
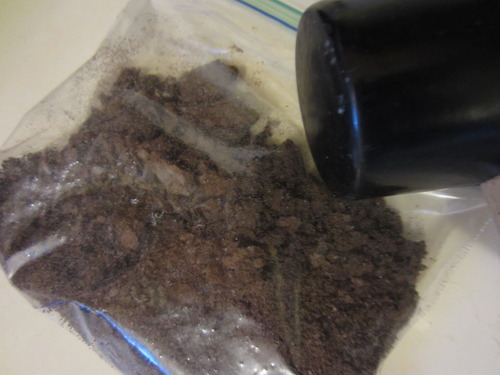
  2. 1 cup of graham cracker crumbs (it doesn't matter what kind, I did the chocolate ones)
  3. 1 tbs of baking powder
  4. 1 Tbs of cinnamon
  5. 1 stick of salted butter (room temp)
  6. 1/4 cup of brown sugar
  7. 1/2 cup of white sugar
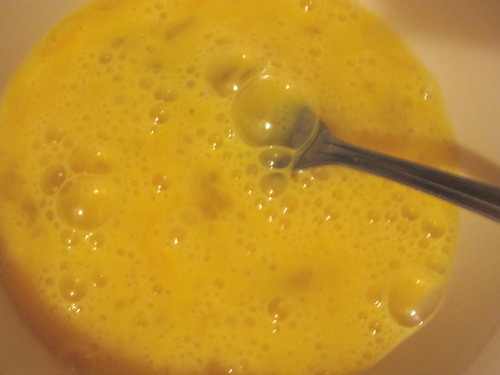
  8. 1 large egg
  9. 1 tbs of vanilla extract
  10. 1 10 oz bag of mini marshmallows (the regular-sized bag basically)
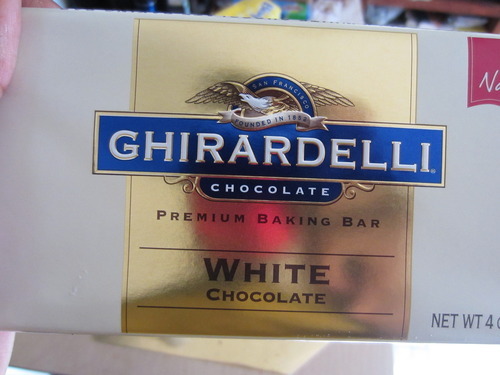
  11. 4 full size baking chocolate bars; I used Lindt and Ghiradelli and I was going to use the Hershey's cookies n' creme, but you know I ate them up before the day I decided to bake this; I still recommend it though. Oh and use any sweetness you damn well please.

image
Step 1: Crush up your graham crackers, one packet works, just stick them in a bag like, four at a time or whatever your bag allows.
image
Step 2: Throw in the crumbs along with the other dry ingredients: flour, cinnamon, and baking powder. Don't worry if your crumbs are not as crumby either.
image
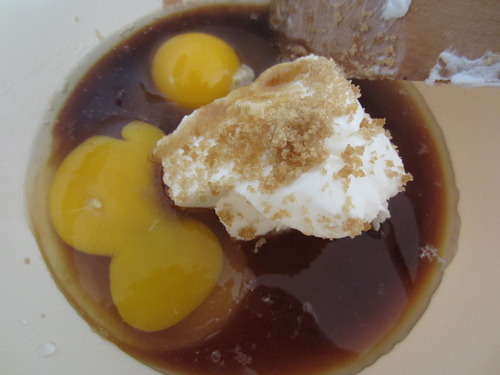
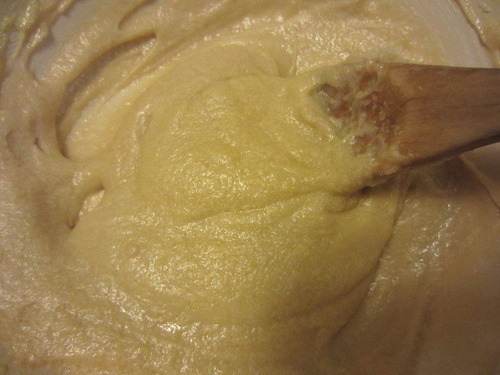
Step 3: Mix your wet ingredients now; the butter stick, the two sugars, the vanilla and the egg. Note: save the butter wrapper to use to grease your pan.
image
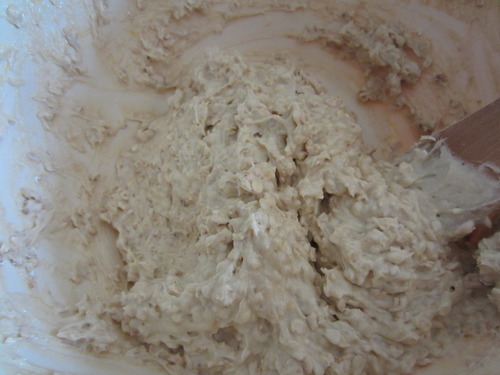
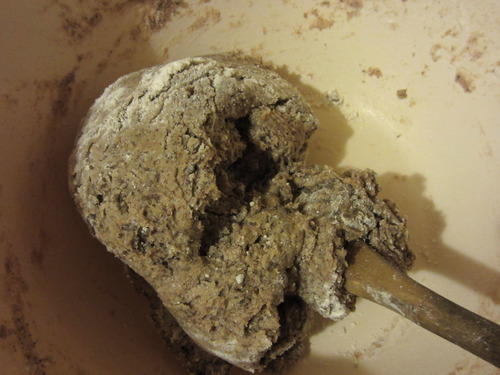
Step 4: Combine the ingredients the same way you would any other dough, adding the dry to the wet little by little until it's supple.
image
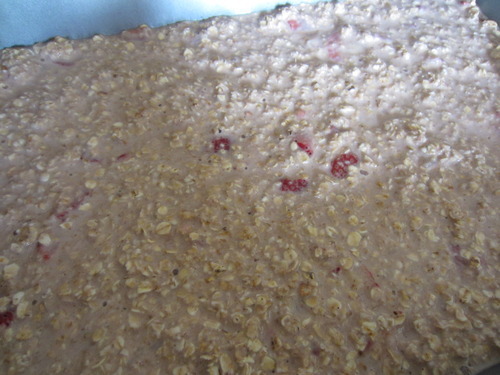
Step 5: Press the dough into the bottom of the butter-greased pan. My pan was actually bigger than the one used in the original recipe so I could only go up the sides just a bit; I needed at least a third of the dough for the top layer.
image
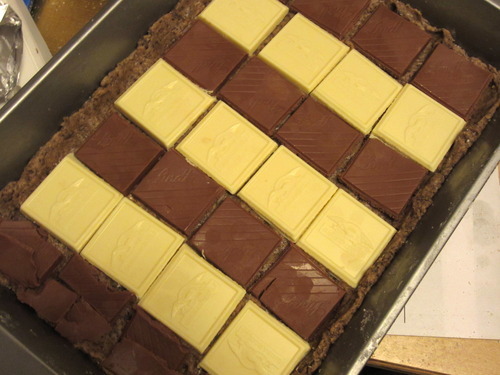
Step 6: Now grab those chocolate bars, like I said before it really doesn't matter what you use as long as you have enough to line the pan and for the top layer; I'm not even sure if the Lindt one is for baking, but that white dude looks like a baker so...
image
Step 6 (cont'd): Line your dough. The white chocolate was actually slightly bigger than the milk chocolate so the spacing was off, but who cares, it's gonna melt anyway.
image
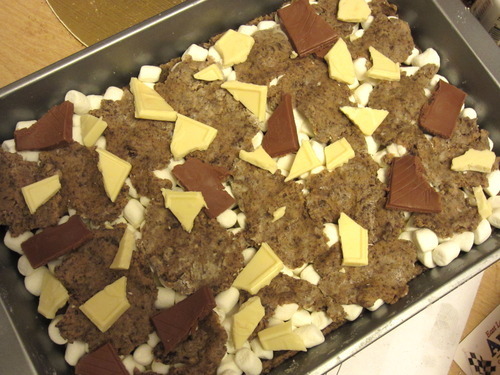
Step 7: Now add a layer of marshmallows. I actually had a little left over in the bag; you just have to make sure the layer covers all the chocolate nicely. 
image
Step 8: Flatten out the rest of the dough over the marshmallows; depending on the size of your pan, you might be able to cover it, or you can do it in patches like I did. The original recipe says you should freeze the extra pieces of chocolate and put them on after the first time baking, and then put the thing back in the oven, but who the fuck has time for that? Just put the pieces on the first time and pop that sucker in the oven for 35-40 minutes at 350 degrees (325-ish for a non stick pan).
image
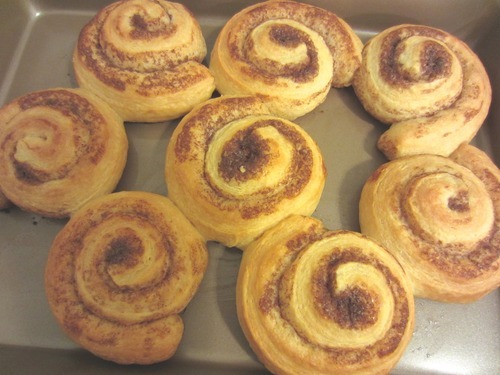
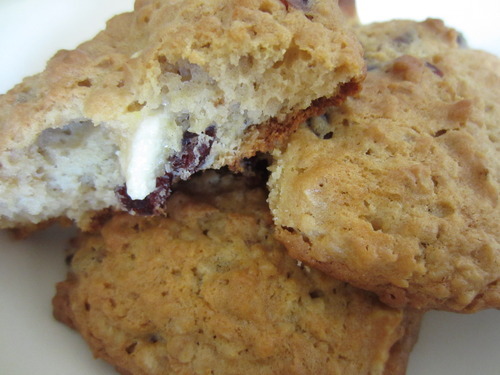
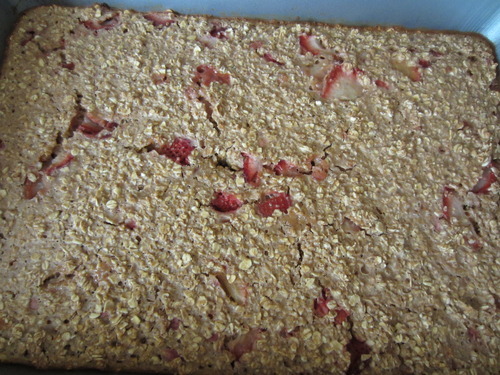
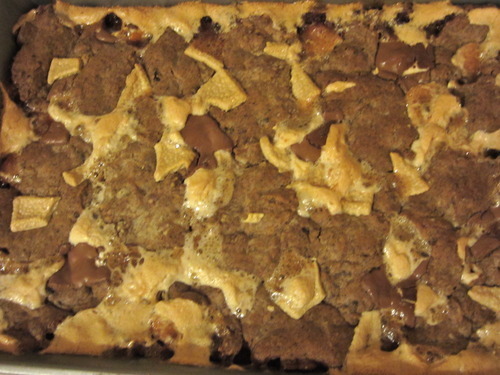
Step 9: It should look like this when it's done (maybe less blurry, my hands were shaking with ravenous excitement). 
image
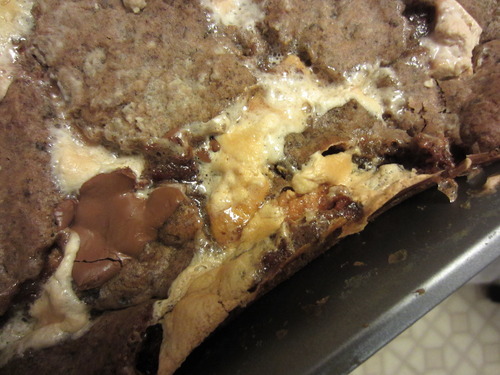
Step 10: Using a knife, separate the sides from the pan all the way around so it makes it easier to cut later.  You MUST let it thoroughly cool so stick it in the fridge for a few hours or so before you cut into it otherwise it starts to fall apart a bit.
image
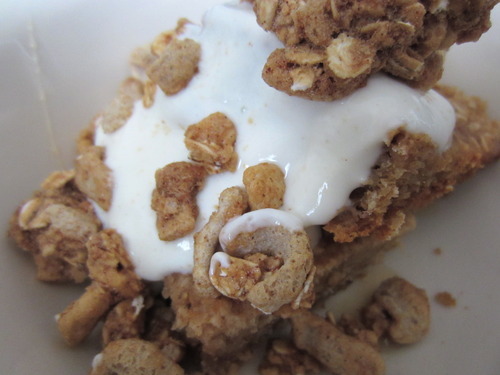
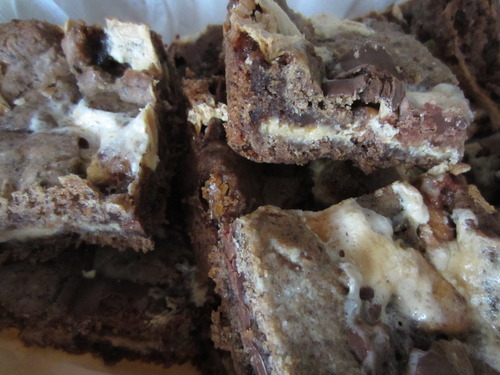
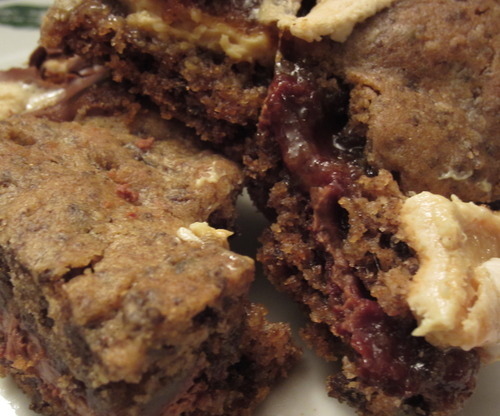
Step 11: Cut them in small pieces so you don't feel like such a fatty when you eat three pieces in one day. Store them in an air tight container in the fridge; you can warm them up a little to serve/eat.
image

Having the desire to bake this is literally the only thing my degree in economics has ever done for me.


Day 43: Submitting again tomorrow.